Hmmmmm. Just got an email that my quilt Off the Wall I is being returned to me today. The day it was supposed to hang in National Quilting Association’s annual show. I checked my tracking number and FedEx says it was delivered during the required time period.
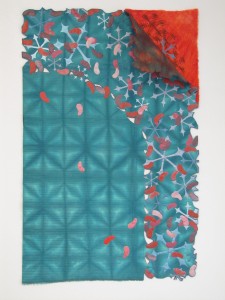
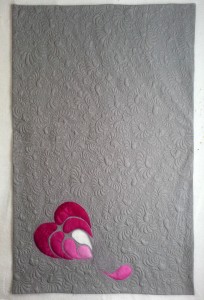
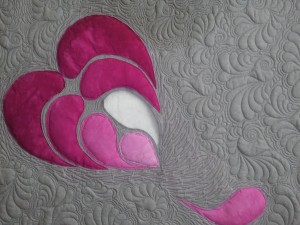
I requested via an email the reason for the return. This should be interesting. The show is not juried. It accepts the first XXX number of quilts submitted. I entered for the exposure of my 3D work. I am wondering if it has anything to do with the 3D qualities of the piece. Perhaps the cutouts were a factor. Is it just too radical for the NQA quilt show, despite the fact that they published an article about it in their own quilting magazine???????
Of course, there is always the possibility that it was damaged in shipping. I sure hope that is not the case.
I will keep you posted. Meanwhile, I will try not to grind my teeth.
UPDATE: Turns out the ‘rejection’ was a communication error. Everyone whose quilts were to be returned via FedEx got the same email, that they were ‘shipped on May 23,’ the opening day of the show. I feel sorry for the poor quilt show managers. They must have gotten earfuls from people who thought there was something wrong with the quilts.
…and they lived happily ever after.